Sketching Techniques and Mindset: A Complete Guide from Choosing a View to Finishing Your Sketch (Part 1)
The three main stages of sketching are observing, feeling, and drawing. Once you reach the drawing stage, the process from choosing a view to finishing your sketch can be broken down into 7 steps. What are they? In Part 1, I'll share the first 4 steps with you in detail. The others 3 steps will be covered in the part 2.
TRAVELSKETCHSKETCHING SKILLS
Shiuan
10/26/2026
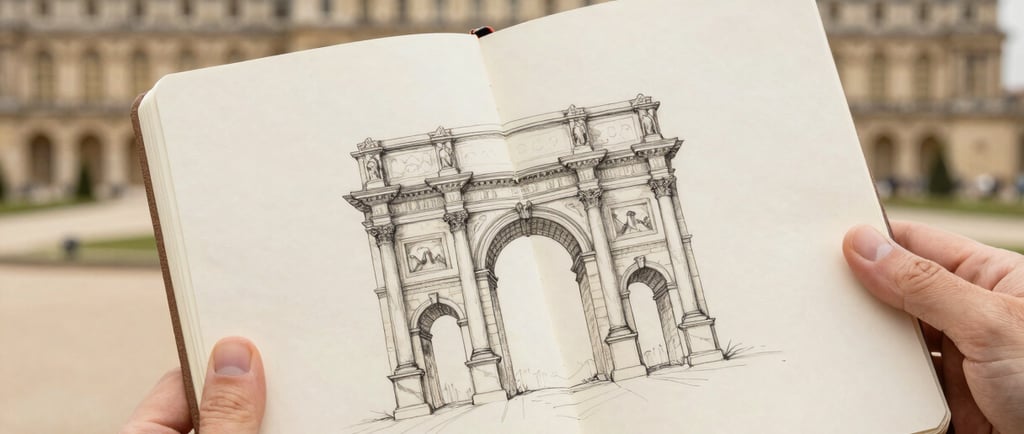
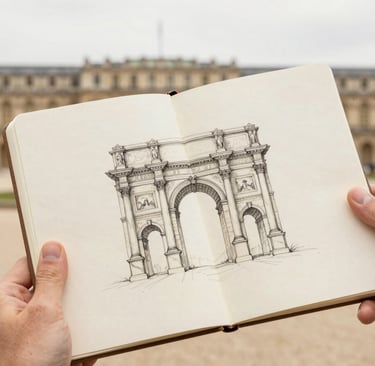
The word "sketch" means "to draw a quick outline." Its purpose is not to produce a finished artwork but to quickly record observations, ideas, and feelings. So the first step in sketching is actually not drawing: first, observe. What is the environment around you like? Next, feel. What about this environment moves you? Only then do you begin to draw.
Once you reach the drawing stage, the process from choosing a view to finishing your sketch can be broken down into 7 steps. I'll share the techniques and guiding principles behind each of them.
Part 1 covers steps one through four: choosing a view, composing the image, making a rough sketch, and creating the line drawing.
Part 2 covers steps five through seven: adding color, adding details, and finishing the work, followed by a summary.
Let's get started !
1. Choosing a View: Deciding What to Draw and How Much to Include
Techniques
Use your fingers or a viewfinder (a piece of paper with a hole cut into it, or a frame made with your hands) to look at your surroundings. Move the frame closer or farther away to see how the apparent size of objects changes within the image.
Choose one clear subject — a building, a person, or a group of objects—to give your drawing a focal point. A quick reminder: you don't have to include everything.
Leave some breathing room. Don't let the main subject fill the entire page; a little empty space makes the composition feel more open.
Mindset
Choosing a view is about "selecting," not "copying reality." Your eyes can take in far more than a sheet of paper can hold. The first choice you make when sketching is what you want to preserve.
Ask yourself, "What attracts me most about this scene?" Once you have an answer, let everything else support it.
2. Composition: Creating Visual Rhythm
Techniques
Use the rule of thirds : divide the image into three equal sections horizontally and vertically, then position the visual focus near one of the intersections. This often creates more tension than placing it in the exact center.
Start with simple geometric shapes—triangles, circles, and squares to reduce complex objects to an arrangement of larger forms.
Build layers of foreground, middle ground, and background. Vary density, light and dark values, and the amount of detail to create rhythm and keep the image from looking flat.
Use leading lines : roads, railings, sightlines, or areas of color can guide the viewer's eye toward your subject.
Mindset
There is no single correct composition. It depends on how you want to guide the viewer's eye through your drawing.
Look closely at works whose compositions feel pleasing to you. Combined with regular practice, this will help you develop an instinct for effective composition.
Once you become more experienced, framing and composition often happen simultaneously.
3. Rough Sketching (Blocking In): Capturing Large Shapes Without Getting Lost in Details
Techniques
Use light, faint, quick strokes to outline the main shape of an object. Keep your hand relaxed so that adjustments are easy.
Work "from big to small": establish the overall proportions first (such as a person's height in head lengths or a building's height-to-width ratio), then divide them into medium-sized shapes, and only then draw the smaller structures.
Use measurement : hold up your pen to compare proportions between objects (for example, how many times wider a window is than a door) and keep your drawing in proportion.
Look for the "line of action": when drawing a person or animal, identify the main curve running through the spine or center of gravity. The energy of the pose comes from this line, not from the outline.
Mindset
It is fine to "make mistakes" at the rough-sketch stage. In fact, drawing several overlapping lines to find the right position is encouraged. This is called "searching for the line," not failing.
If you want a natural, organic quality to your marks and lines, you can also skip the rough sketch and draw directly with a ballpoint pen, fineliner, or another tool that cannot be erased.
4. Line Drawing: Establishing the Final Shapes
Techniques
Choose the most accurate lines from your rough sketch and redraw them with confident, continuous strokes. This helps avoid shaky lines caused by hesitation.
Aim for continuous strokes : try to draw longer lines in a single motion, pausing as little as possible so they flow smoothly. Beginners who find this difficult can build a long line in shorter sections.
Vary your line weight. Use heavier or thicker lines at changes in structure and where objects overlap (to show which object is in front), and lighter or thinner lines along flat surfaces or less important edges. This creates a sense of space.
Preserve blank spaces and broken lines. You do not need to close every contour. Leaving occasional gaps can make a drawing feel light and sketch-like.
Mindset
A line drawing is not simply "tracing the outline"; it is your final decision about how to express structure and volume through lines.
It is fine if traces of the rough sketch remain visible in your line drawing. You do not necessarily need to erase them; that sense of being "unfinished" is part of a sketch's charm.
The best way to learn sketching is to pick up pen and paper and experience it firsthand. I offer beginner-friendly Paris sketching walks where you can practice as you listen to explanations. Returning to the written tips afterward will make them even more useful.
Continue with "Sketching Techniques and Mindset: A Complete Guide from Choosing a View to Finishing Your Sketch (Part 2)" to discover the final three steps: adding color, adding details, and finishing your sketch.

